Have you thought about modifying the iPhone carrier? The process of switching carriers doesn’t have to be difficult, whether it’s for a better deal, improved coverage, or international travel. This guide will explain the process of switching to a new iPhone carrier.
Evaluate your current plan Before Changing Carriers? Keep track of the terms of your contract, such as the date of termination, early termination fees, and any remaining payment for devices. This information will be essential as you switch to a new carrier.
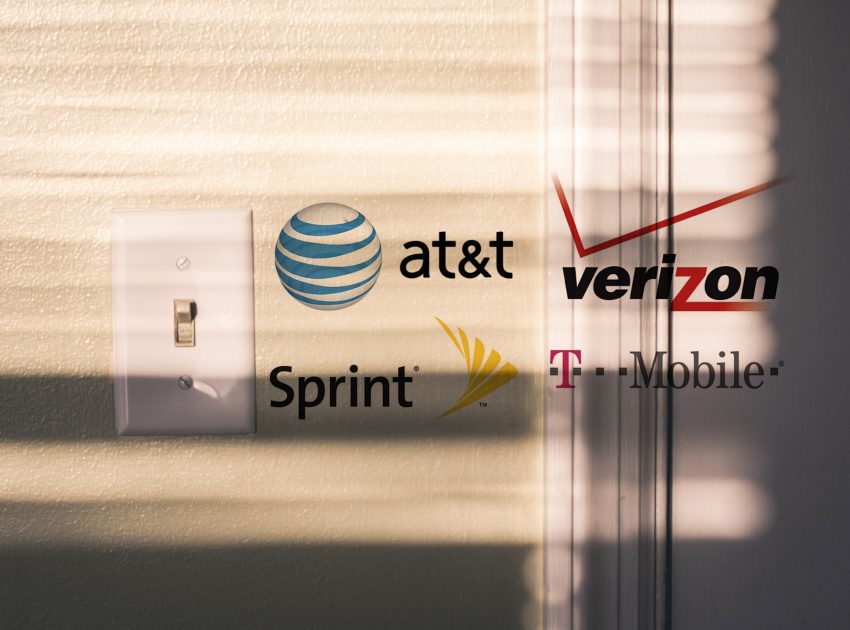
Review your new carrier and compare them to determine which one would be the best fit for you. Analyze features like network coverage, data speeds, pricing, and any special benefits. Check if your new phone carrier matches your preferences.
Verify that your iPhone is compatible with the new carrier’s network. Although most modern iPhones are compatible with multiple carrier networks, it’s important to verify if your device supports the carrier network frequencies.
Monitor for any promotional offers from your new carrier to ensure you’re staying informed. The incentives could consist of reduced device prices, trade-in offers, or account credits. These offers can result in cost savings.
If your carrier is currently blocking your iPhone, you need to request its unlocking from your current carrier. This procedure is necessary to transfer to a new carrier. Verify you meet any conditions and follow your current carrier’s unlocking guidelines.
After selecting your new carrier, it’s time to sign up for the new plan. This could be done either at a shop or via the internet. Check the plan specifics and pricing to ensure they meet your expectations.
Switch to your new carrier if you want to keep your current phone number. Porting your number will be handled by them. Typically, this involves providing your present identity and current account information.
Switch on your new SIM card with your chosen carrier. Use the new SIM card to activate your iPhone with this new network. It is often as straightforward as swapping your old SIM card for the new one.
After your new iPhone is compatible with the new carrier, contact them about canceling your previous carrier service. Make certain you’ve paid your balances, returned any leased devices, and followed the cancellation instructions as specified.
Enjoy the experience Test your iPhone with the new carrier and make sure all call, text message and data functions are working. Benefit from your new carrier’s network, and explore any additional benefits or services they provide.
This step-by-step guide will help you make the process of switching your iPhone carrier and reap the benefits of your new phone. Making the switch is now a simple task, with options for obtaining better coverage, competitive pricing, or additional features.
To make the most of the transition, it’s crucial to be familiar with the terms and conditions of your new carrier, be cognizant of any special offers or deals, and ultimately choose the carrier that suits your preferences.
Take pleasure in the new iPhone experience and its enhanced features.